Exactly, another definitive how-to with actual information! I spent a few hours this week finally putting a MS setup on my personal 1995 GTI VR6, and here is how it turned out!
First off here is the information thread for distro cars, LINK just in case someone is looking for that information.
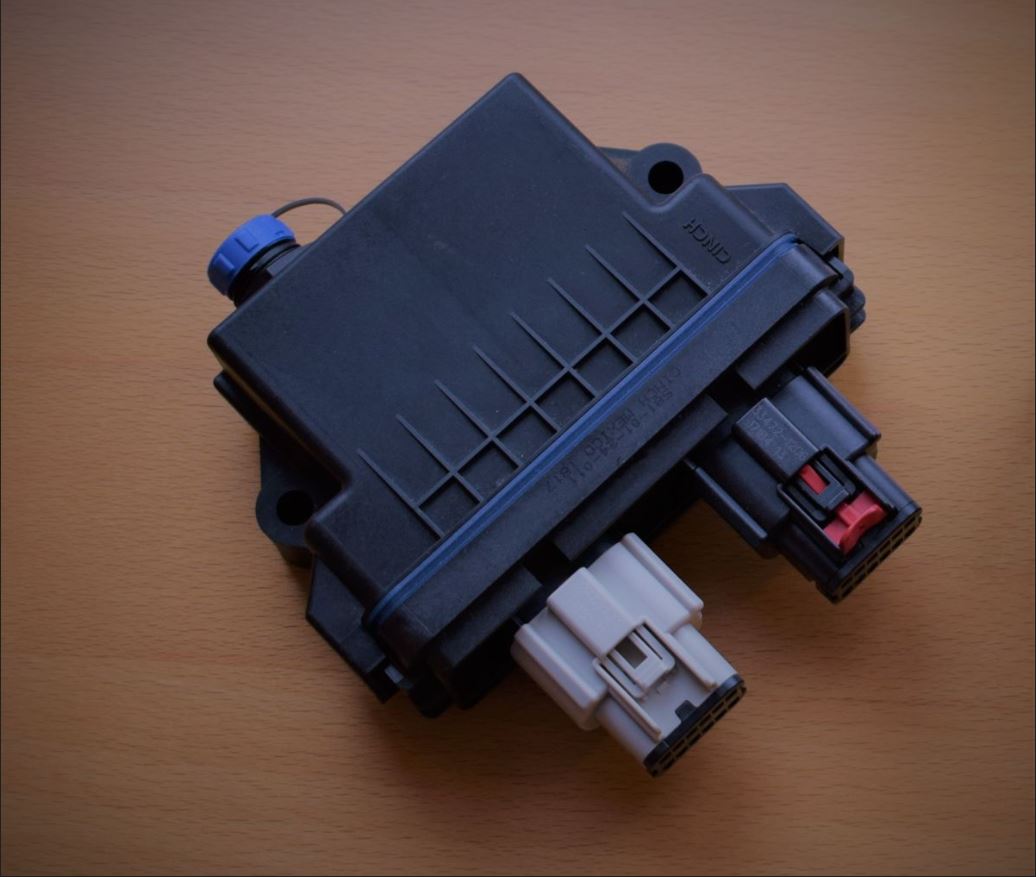
The car in question is a 1995 GTI VR6 running all factory sensors with the only exception being an Innovate LC1 wideband and a 1.8T open element temp sensor. It has been running a stock GIAC chipped ECU for a long time. The only addition to the engine bay is a single vacuum line for the map signal. The car is using a stock VR6 coilpack with integrated ignitor.
The board was built and setup tuned here at KPTuned
MS1 V3.57
MSnS-E HR10G
Board mods/hardware:
VRIN – TSEL (JP1 1/2)
TSEL – VROUT (J1 4/5)
Bottom VR pot fully CCW, top pot a few turns CW from fully CCW
Glen’s Garage Error* Daughter board for all the ‘extra’ circuits
I used the daughter board to make adding the extra circuits a little easier with the 3.57SMT board that doesn’t have a proto area. I will post the circuits I used to help those that want to use a V3 board instead.
Ignition triggers are from the LED’s but the 3.57 has internal 1k pullups, the triggers com from PAD1, PAD2, and PAD3 for D14-16 respectively.
Similar to this circuit, but for each LED using a 1k pullup:

Tach output circuit, use a 4.7k resistor where 1-10k is listed:

FIDLE output for stock 2 wire idle valve:
TIP120 for PWM idle valve with 1N4001 flyback diode between output and 12v Remove Q4, Q20 and R39. replace R39 with a wired link or solder the (E) emittor to the right side of position R39 rather than at the Q4 position.

MAF wiring below, it uses a 12v power and ground, a signal ground and outputs 0-5v based on airflow. The Ford one is the same:

Outputs for Smog pump relay and CEL light are below. I’m going to be using the smog pump wiring and relay for a small fan in the future and use the CEL for a shift light:

Launch control and table switch circuit, table switch is on JS9, Launch JS11:

Software
I have posted decent msq’s for both 029y4 and Hi-Res HR10g, both can be interchanged on a settings level, VE tables are different. Caution the 029y4 file has a ‘wrong’ req_fuel and if you plan on using it set it correctly and scale the VE table by .72. http://www.msruns.com/viewtopic.php?f=88&t=22776 You will have to login to download the msq.
This is the first install that I’ve tuned with the new EFI Analytics Tuner Studio package, but I suggest to all to check it out HERE.
It is
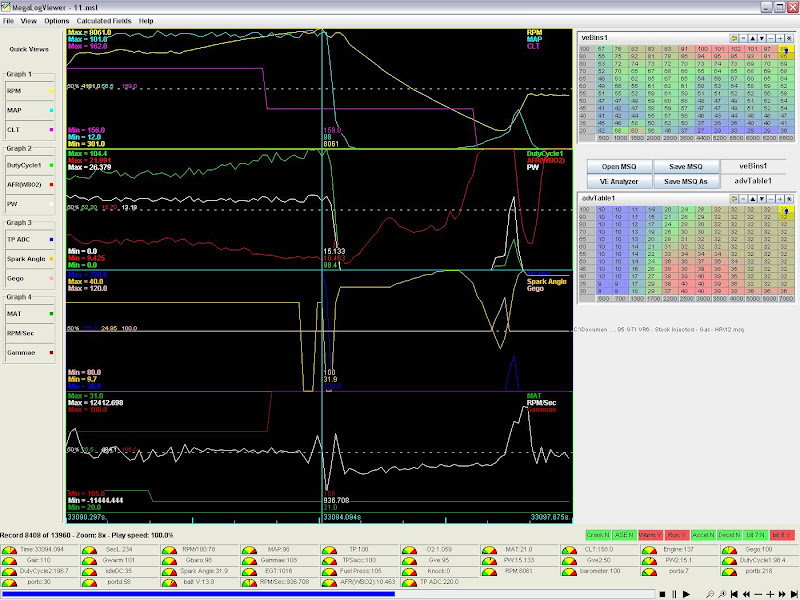
All VE analysis was done with EFI Analytics MegaLogViewer package, it made tuning the car a single person operation. Details HERE
Wiring
Wiring is straight forward from a cut up Motronic ECU connector to the MS DB37 connector. This is so I can switch betwen the MS and stock ECU setup for back to back testing. The pinout is posted below, be aware that some of the pins for ‘extras’ will need to match the location in hardware modifications:
Wiring Schedule:
Motronic T68 Pin # —- MS Pin # — Function
1,7,33,42,55,56 —- 8-19 — Ground
36 ———————20——– IAT+
14———————-21——–CLT+
41———————-26——–TPS+
40———————-22——–TPS
20———————-23——–O2
67———————-24——–VR+
68———————-7———-VR-/VR Shield
22———————-29——–Tach
23———————-27——–PWM 12v
23———————-28——–12v supply
53———————-36——–PWM Idle (Fidle)
3,24,26————-32/33——-INJA
2,4,25————–34/35——–INJB
8————————3———Spark A Cyl 1/6
52———————-4———-Spark B Cyl 2/5
60———————–5———Spark C Cyl 3/4
6———————–37———-Fuel Pump (Relay)
28———————37———-Heated O2 (Relay)
17———————25———-MAF
5———————–27———-CEL
49———————31———-Fan/Smog Relay
Non VW wiring
DB25———–Function
3—————-Launch
4—————-Table Switch
5—————-Spare Gen Output
6—————-Future Cam Sensor
7—————-Spare Gen Output
Gen Output Additional relay:
T68/9 needs to be pulled to ground to turn the ECM relay on. There’s a 12v ignition hot supply on T68/38 that does this for the stock ECU. Relay wiring below:
Relay Pin——-Motronic Pin
30—————T68/7
87—————T68/9
85—————T68/38
86 ————–T68/7
The above circuit should only be needed for OBD1 installations, OBD2 will switch on the ECU with ignition hot and doesn’t use that relay.
Impressions
I only got a chance to tune the car for a few hours but a few things are definitely different from Motronic. I always had a little miss/stumble/roughness around 2k with this car. Both with the stock head, 262 cams and the 268s. The MS totally cleared this area up.
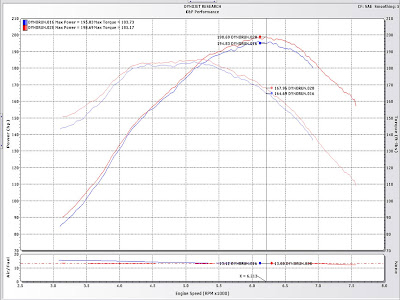
The car seems much happier with the raised rev limiter but that did lead to the demise of my clutch. High rpms seem to back my pressure plate bolts out so I won’t be able to get dyno results until it’s all fixed. Even with the limited tuning it does run well without any real issues.
Snippet of the datalog where the clutch decided to stop working correctly. Yes, that is 8000rpms.

Unfortunately that is all for now, but stay KPTuned for dyno results!!


 Posted by kptuned
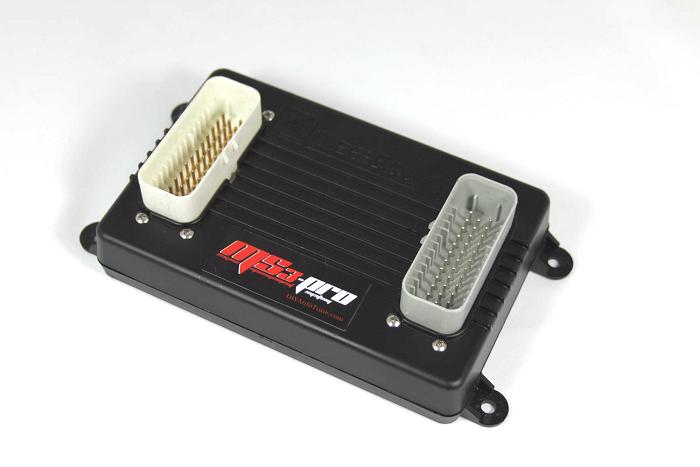


